Deploy Site
Hugo generates static websites, allowing for flexible hosting options. This page provides guides for deploying your Hextra site on various platforms.
GitHub Pages
GitHub Pages is the recommended way to deploy and host your website for free.
If you bootstrap the site using hextra-starter-template, it has provided GitHub Actions workflow out-of-the-box that helps automatically deploy to GitHub Pages.
GitHub Actions Configuration
Below is an example configuration from hextra-starter-template:
# Sample workflow for building and deploying a Hugo site to GitHub Pages
name: Deploy Hugo site to Pages

on:
  # Runs on pushes targeting the default branch
  push:
    branches: ["main"]

  # Allows you to run this workflow manually from the Actions tab
  workflow_dispatch:

# Sets permissions of the GITHUB_TOKEN to allow deployment to GitHub Pages
permissions:
  contents: read
  pages: write
  id-token: write

# Allow only one concurrent deployment, skipping runs queued between the run in-progress and latest queued.
# However, do NOT cancel in-progress runs as we want to allow these production deployments to complete.
concurrency:
  group: "pages"
  cancel-in-progress: false

# Default to bash
defaults:
  run:
    shell: bash

jobs:
  # Build job
  build:
    runs-on: ubuntu-latest
    env:
      HUGO_VERSION: 0.147.7
    steps:
      - name: Checkout
        uses: actions/checkout@v4
        with:
          fetch-depth: 0  # fetch all history for .GitInfo and .Lastmod
          submodules: recursive
      - name: Setup Go
        uses: actions/setup-go@v5
        with:
          go-version: '1.22'
      - name: Setup Pages
        id: pages
        uses: actions/configure-pages@v4
      - name: Setup Hugo
        run: |
          wget -O ${{ runner.temp }}/hugo.deb https://github.com/gohugoio/hugo/releases/download/v${HUGO_VERSION}/hugo_extended_${HUGO_VERSION}_linux-amd64.deb \
          && sudo dpkg -i ${{ runner.temp }}/hugo.deb
      - name: Build with Hugo
        env:
          # For maximum backward compatibility with Hugo modules
          HUGO_ENVIRONMENT: production
          HUGO_ENV: production
        run: |
          hugo \
            --gc --minify \
            --baseURL "${{ steps.pages.outputs.base_url }}/"
      - name: Upload artifact
        uses: actions/upload-pages-artifact@v3
        with:
          path: ./public

  # Deployment job
  deploy:
    environment:
      name: github-pages
      url: ${{ steps.deployment.outputs.page_url }}
    runs-on: ubuntu-latest
    needs: build
    steps:
      - name: Deploy to GitHub Pages
        id: deployment
        uses: actions/deploy-pages@v4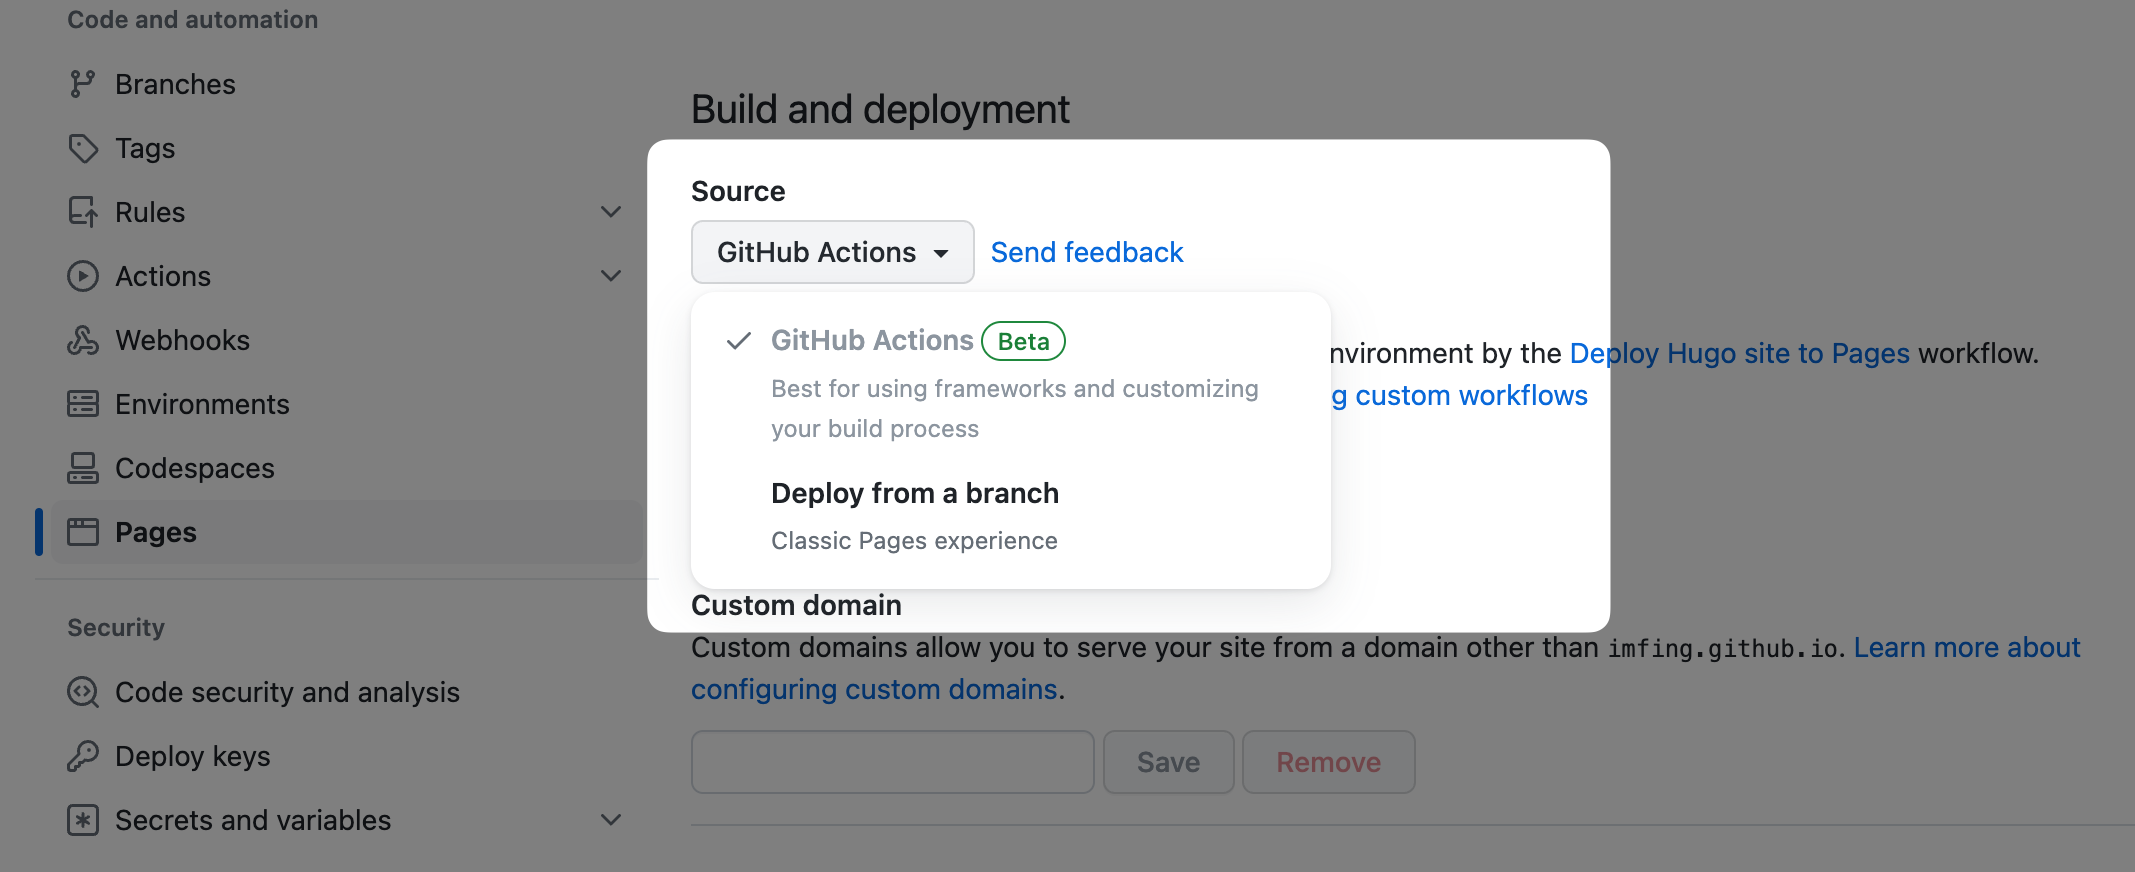
By default, the above GitHub Actions workflow .github/workflows/pages.yaml assumes that the site is deploying to https://<USERNAME>.github.io/<REPO>/.
If you are deploying to https://<USERNAME>.github.io/ then modify the --baseURL:
| |
If you are deploying to your own domain, please change the --baseURL value accordingly.
Cloudflare Pages
- Put your site source code in a Git repository (e.g. GitHub)
- Log in to the Cloudflare dashboard and select your account
- In Account Home, select Workers & Pages > Create application > Pages > Connect to Git
- Select the repository, and in the Set up builds and deployments section, provide the following information:
| Configuration | Value |
|---|---|
| Production branch | main |
| Build command | hugo --gc --minify |
| Build directory | public |
For more details, check out:
Netlify
- Push your code to your Git repository (GitHub, GitLab, etc.)
- Import the project to Netlify
- If you are not using [hextra-starter-template][hextra-starter-template], configure the following manually:
- Configure the Build command to
hugo --gc --minify - Specify the Publish directory to
public - Add Environment variable
HUGO_VERSIONand set to0.147.7, or alternatively, set it innetlify.tomlfile
- Configure the Build command to
- Deploy!
Check Hugo on Netlify for more details.
Vercel
- Push your code to your Git repository (GitHub, GitLab, etc.)
- Go to Vercel Dashboard and import your Hugo project
- Configure the project, select Hugo as Framework Preset
- Override the Build Command and Install command:
- Set Build Command to
hugo --gc --minify - Set Install Command to
yum install golang
- Set Build Command to